Plumbing hides in walls, ceilings, and slabs, then tells on itself with stains, pinhole leaks, or showers that sputter when someone flushes. When customers call me about water pressure problems, the conversation often winds up at the same place: should we repipe, or can we fix this with a smaller intervention? The answer depends on the pipes you have, what the tests show, and how you use water in the home. Here is a straight, field-tested guide to the questions homeowners actually ask about repipe plumbing and pressure balance.
What “water pressure” means, and where it goes wrong
In a house, pressure is the potential, flow is the result. A gauge can read a healthy 60 psi, but your shower can still feel weak if the pipes are too small, scaled, or partially blocked. Pressure is the push behind the water. Flow is the volume delivered. You need both.
I carry two instruments to read that story. A $20 analog gauge that threads onto a hose bib tells me static pressure at rest and dynamic pressure under flow. A manometer checks gas lines, not our topic here, but it illustrates the point. You always measure with and without fixtures running. A home can start at 70 psi at rest, then dip to 30 psi when two showers run, a washing machine fills, and the kitchen sink opens. That drop, not the resting number, reveals the bottleneck.
Common culprits: old galvanized steel that rusts from the inside, leaving a tube that looks like a clogged artery; type M copper with heavy mineral scale; PEX undersized runs with too many restrictive fittings; or a pressure reducing valve that is misadjusted or near the end of its life. Sometimes the municipal line brings high pressure at night and lower mid-morning, especially on hills, so you test at different times.
When a repipe makes sense
Repipe plumbing is replacing most or all water distribution lines inside the property, often from the main shutoff to the fixture stub-outs. It is invasive, but it can solve layered problems in one sweep. I recommend it when three or more of these signs show up together:
- Multiple leaks over a year, especially pinholes that keep migrating to new spots. Brown or dirty water on startup that clears after a few minutes, typical of rusted galvanized. Noticeable pressure loss when two fixtures run, even after PRV adjustment and fixture-side fixes. Pipe age and material known for trouble, like mid-century galvanized or certain polybutylene eras. Past remodels that created a maze of tees, dead ends, and mixed sizes that throttle flow.
Anecdote: a 1960s ranch I worked on had three bathrooms and a kitchen all fed by an original 3/4 inch galvanized trunk, then 1/2 inch branches that had narrowed to pencil size from corrosion. Static pressure was 65 psi, textbook. Open two showers and dynamic pressure cratered, the washing machine howled, and the homeowner thought the city had cut supply. No amount of fixture swapping or valve flushing could push volume through those pipes. We repiped with PEX-A, upsized the main trunk to 1 inch, rebalanced the branches, and the house felt like it had a new water service. It did, internally.
What does a repipe involve, day to day?
People picture their house ripped open. It is not that dramatic when done well. We map the runs, protect floors, and open small surgical access points at strategic places: behind tubs, above water heaters, in closets, and at soffits. Plumbers who do this often know the shortest path and the fewest holes.
Expect water off between morning and late afternoon during active days. In a typical three bath home, the job runs two to four days for a crew of two or three, longer if the drywall surfaces are delicate or routes are tight. We pressure test before closing walls. A separate finisher often does the patching, priming, and texture match, so budget time for that follow-up.
The biggest surprise for some homeowners is how much a pipe layout can be simplified. Old systems accrete tees and loops after every remodel. A replumb is a chance to centralize manifolds, rationalize branch lengths, and create clear labeling at the water heater or manifold panel. Ten years later, when a service tech shows up, she will actually understand what she sees.
Copper, PEX, or CPVC: does material change pressure?
Material choice affects pressure in two ways: friction loss and fittings. Copper type L has smooth walls and can carry high-temperature water, but every elbow is a pressure tax. PEX has a slightly rougher internal surface but uses sweeping bends and fewer tight elbows, which can offset friction. CPVC glues up with fittings similar to copper, and is more brittle. In practice, the layout matters more than the material.
For long runs, upsizing by one nominal size can tame pressure drop. A 1 inch trunk to a manifold, then 1/2 inch homeruns to fixtures, is a common PEX approach. Copper still shines in exposed mechanical rooms or where fire codes prefer it. PEX should be protected from UV and sharp edges. I have pulled out twenty-year-old PEX installations that looked almost new, and copper that still performed after sixty years when water chemistry was kind.
If you want quieter pipes, PEX absorbs hammer better. If you need maximum longevity under intense sunlight or high-chloramine water, copper type L or K holds up, as long as your water is not aggressive. Some regions have known copper pitting issues. Always check local water reports and code allowances, then choose material with that in mind.
How pressure balancing works with modern fixtures
Two valves matter in daily life: pressure-balanced shower valves and thermostatic mixing valves. A pressure-balanced valve uses a spool or diaphragm to keep hot and cold flow in proportion. If someone flushes a toilet and your cold line dips, the valve reduces the hot side to match, preventing a scalding spike. Thermostatic valves measure temperature and modulate flow to hold a set temperature, which can be more precise with multiple simultaneous uses.
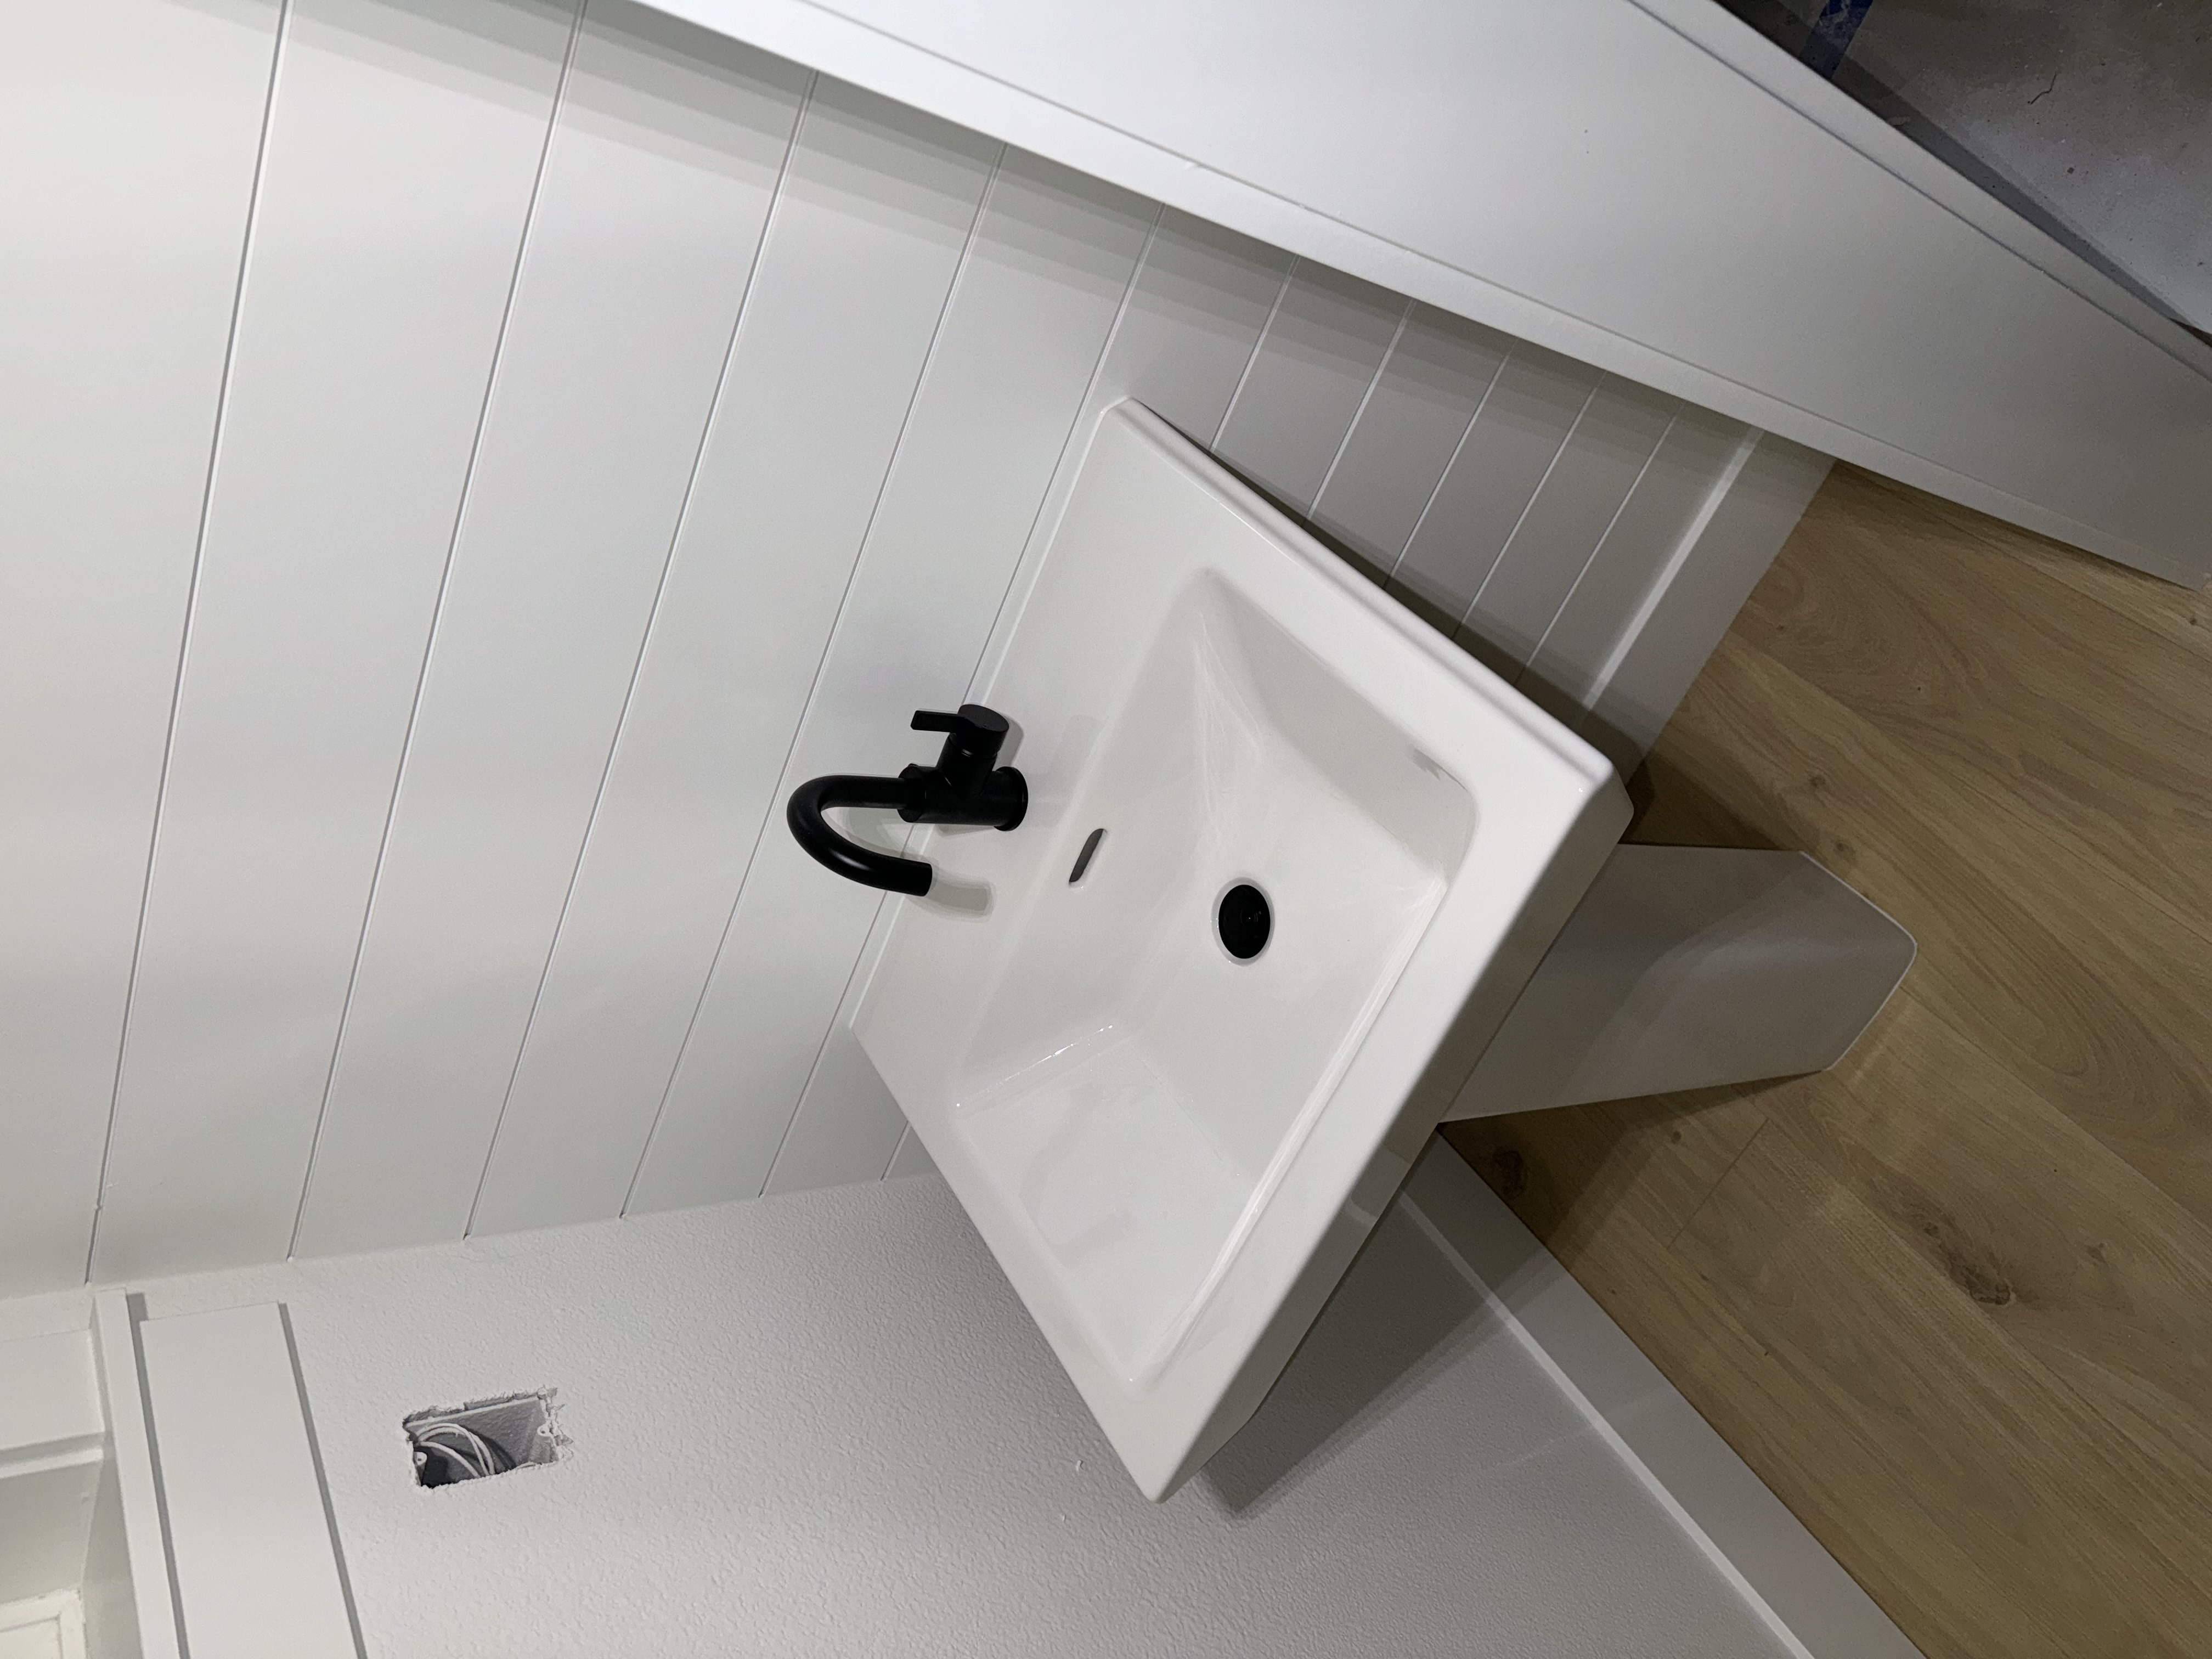
During a repipe, replacing the old two-handle shower controls with a code-compliant pressure-balanced or thermostatic valve is standard. It is not just comfort, it is safety. Pair those with a properly set water heater outlet, usually 120 F for households unless local code or medical needs dictate otherwise. If you have a tankless heater, ensure sufficient flow to trigger ignition when low-flow fixtures are running, or you will get the dreaded cold sandwich.
Will a repipe raise my water pressure?
It will not raise the static pressure from the city or from your well pump, but it can restore usable pressure under flow. Think of https://generalcontractorusa.com/plumbing-contractors/understanding-repipe-plumbing-cost-for-your-home/ a clogged artery again: the heart pressure may be the same, but the delivery improves when the pipe is clear and sized right. Homeowners often tell me showers feel stronger and the washing machine fills faster. That is flow, not gauge pressure, though people use “pressure” as shorthand.
If your incoming static pressure is low, you might still need upstream work. On a city supply, that could be a larger meter, a service line upgrade, or a check for a partially closed curb stop. On a well, it can be a pump issue or a pressure tank losing charge. Those are separate from interior repipe, but a good contractor will test both sides.
The role of the pressure reducing valve
Many houses have a PRV where the water line enters. Its job is to tame municipal pressure that can swing from 80 to 120 psi. Excessive pressure causes water hammer, valve failures, and constant toilet fill valve leaks. If your home has uneven pressure, especially “good in the morning, weak at dinner time,” check the PRV age and setting. A failing PRV can throttle flow dramatically, acting like a clogged artery even with healthy pipes.
During a repipe, we test, clean, or replace the PRV, then set it with fixtures running. The trick is not just to dial to a number on the cap. You want to measure dynamic pressure while running a shower and a sink, then choose a setting that keeps service steady in realistic use. Often that ends up between 55 and 65 psi for most homes. If you have a multi-head shower or long runs to a casita, you might aim slightly higher, still under 75 to stay kind to valves.
Do I need to repipe the whole house, or can we do partial zones?
Full repipes are cleaner to manage and give predictable results. That said, strategic partials can buy time. If only one bathroom wing has chronic leaks and poor flow, and the kitchen side was already updated during a remodel, zoned repipe lets you allocate budget wisely. Use isolation valves at the transition points and clearly label them. Be honest about the trade-off: old and new will meet somewhere, and that joint becomes the next attention point.
One common partial: replace a galvanized main trunk from the meter to the interior manifold, then keep copper or PEX branches that are in good shape. Another: run new PEX to upstairs bathrooms through an attic and drop behind showers, leaving the downstairs for later when you remodel. The pressure gains will be uneven, but you can target the worst offenders first.
How much does a repipe cost, really?
Numbers vary by region, house size, and finish complexity. As a rough range, a small two-bath home might see $6,000 to $10,000 for a full interior repipe in PEX, including basic drywall patches. Copper can add 20 to 50 percent in both material and labor. Large or complex homes with multiple stories, tiled chases, or limited access can run $15,000 to $35,000 or more.
Budget for related parts: new angle stops and supply lines at sinks and toilets, water heater connections, new shower valves, and a PRV if yours is outdated. Do not forget wall restoration. Drywall patches and paint blending can cost a few hundred to a few thousand, depending on texture and scope. In historic homes, plaster repair and tile penetrations add time and care.
What risks and pitfalls should I watch for?
Any invasive work brings surprises. I have opened soffits to find unpermitted electrical splices or hidden termite damage. Add contingency time and money, around 10 to 15 percent, to handle oddities without panic. Another pitfall: mixing metals without proper dielectric isolation. Copper joined directly to galvanized can create galvanic corrosion. Use brass or dielectric unions at transitions, and plan the sequence.
Routing is a judgment call. PEX is flexible, but it still needs protection plates at stud penetrations and proper support to avoid noise. Do not allow pipes to sit on sharp edges or rub against ductwork. In attics, insulate lines and keep them away from hot flues. In slabs, if you abandon old lines, cap them securely. If you choose to sleeve new PEX through old copper as a conduit, make sure the old pipe is sound and free of severe kinks.
Will a repipe fix temperature swings?
Often, yes, because pressure stability under load means balanced hot and cold mixing at the shower. Pair that with modern pressure-balanced or thermostatic valves and you get much smoother performance. But if the water heater is undersized for the number of simultaneous uses, you will still outrun the hot supply. A 40 gallon tank in a home with three teenagers and two showers running back to back will always lose the race. Consider upsizing to a 50 or 75 gallon tank, adding a recirculation loop for long hot runs, or moving to a properly sized tankless system with adequate gas or electrical capacity.
What about a recirculating system for faster hot water?
Recirculation loops keep hot water moving so you do not wait a minute at the far bathroom. If you are repiping, it is the perfect time to add a dedicated return line and a smart pump. That line can run back to the water heater low port with a check valve and timer or aquastat control. In a retrofit without a return line, crossover-style pumps can use the cold line as a temporary return at a fixture, but they blend hot and cold a little and are not ideal for every layout.
Recirc systems add convenience and a small energy cost. Proper insulation on hot lines and smart timers can minimize waste. In homes with long branches, the perceived pressure and comfort improve because the hot is available immediately and fixtures flow as intended.
How to diagnose pressure problems before deciding on a repipe
Before anyone swings a hammer, test. You can do a simple version yourself with a pressure gauge and a bucket. If your numbers are confusing, call a plumber who will document both static and dynamic readings.
- Check static pressure at a hose bib after the PRV, ideally morning, afternoon, and evening. Open two or three fixtures and log dynamic pressure drop. Compare hot versus cold at a single fixture to spot water heater or hot-side restrictions. Inspect visible pipe sections for corrosion, green or white crust, and signs of past leaks. Note fixture performance room by room, including shower behavior when toilets flush.
Those five checkpoints tell a clear story. If static pressure is strong but dynamic drops hard house-wide, the distribution system is likely undersized or obstructed. If one bathroom is weak but others are fine, the problem may be localized. If hot is weak but cold is strong at multiple fixtures, look at the water heater outlet, heat trap nipples, or a clogged mixing valve.
How long will new piping last?
Done right, a repipe should outlive your desire to renovate again. Copper type L can run 50 years or more in gentle water conditions. PEX manufacturers rate products for 25 to 50 years under design temperature and pressure, and field experience shows many installs maturing past two decades without drama. CPVC can last, but it is sensitive to installation errors and UV.
Longevity hinges on water chemistry and pressure. Keep the PRV set under 70 psi, install a thermal expansion tank on closed systems with tank-type heaters, and consider a whole-house sediment filter if your water carries grit. Those small steps keep valves clean and shock loads low.
Will insurance premiums or resale value change?
Insurers like reduced risk. If your home has a history of water damage claims, a documented repipe can help negotiate coverage continuity. Some carriers have been wary of certain materials like polybutylene. Replacing them can remove a red flag. On resale, buyers notice new plumbing on the summary sheet, especially if you provide a permit record, material data, and photos of the manifold and labeled shutoffs. It is not the same headline as a new roof, but it signals that you invested in fundamentals.
Can I stay in the house during the work?
Most families do. Water is off during working hours, then turned back on each evening with temporary connections for toilets and one working shower if the crew coordinates well. If you work from home, expect noise from drilling and cutting. Pets should be secured away from open walls and tools. Sensitive dust areas like piano rooms or server closets need plastic sheeting and careful housekeeping at day’s end. A clean crew leaves floors covered, debris bagged, and walkways safe, even in mid-job.
What about lead, solder, and old valves?
If your home predates 1986, it may have brass with higher lead content or solder with lead. Repipe removes most of that from your everyday water path. The main still matters if it passes through older meter couplings. After the repipe, we flush thoroughly, then recommend a cartridge filter at the main if you are concerned about residual metals. Replace angle stops and supply lines, not just the pipes behind the wall. Old valves can shed debris into new piping and ruin the first week’s experience.
How does repipe plumbing tie into code and permits?
Permits protect you when you sell and help ensure oversight. Inspectors look for proper support, nail plates, expansion tanks, PRV placement, shutoff accessibility, and approved materials. They test pressure and check water heater safety devices. Passing inspection is not a nuisance hoop. It documents that the work met a baseline. If a contractor resists permitting, ask why.
Local codes vary. Some jurisdictions require copper in certain shafts or ban PEX in return-air plenums. Some mandate scald protection ratings at tubs and showers. Others want labeled manifolds and accessible unions at water heaters. A seasoned contractor navigates those details without drama.
What if I cannot afford a full repipe but need better pressure now?
You can triage. Replace the PRV and main shutoff first, then address the worst branch. Remove flow restrictors only where safe and legal, though that is a bandage if the piping is the bottleneck. Clean aerators and showerheads. Replace clogged angle stops and supply lines. If your water heater has heat trap nipples with floppy plastic inserts, consider swapping to low-restriction versions. These steps can move the needle for a fraction of a full repipe and buy time to plan.
Sometimes the best short-term move is upsizing a key run. I had a client with a second-floor bath fed by a long 1/2 inch copper branch. We pulled a new 3/4 inch PEX line through a closet chase just to that bath, left the rest of the house untouched, and the daily complaints evaporated. Two years later, they finished the rest of the repipe during a remodel.
How to choose a contractor for a repipe
Look for someone who does repipe plumbing routinely, not as an occasional sideline. Ask to see a sample plan or manifold photo from a previous job. Check license, insurance, and permit history. Questions that separate pros from pretenders: How do you size the trunk and branches? Where will you place the manifold? How do you protect against nail strikes at studs? How will you stage work to keep a bathroom functional each night? What PRV and expansion tank do you prefer, and why?
The best crews talk sequencing and cleanup as confidently as they talk fittings. They price clarity: material, number of access holes, valves included, patching scope, and inspection schedule. Cheap bids that skip permits or use vague language about wall repair usually cost more later.
Common myths about pressure and repipes
A few misconceptions show up often.
- “High pressure is always better.” Not true. Anything much over 75 psi shortens fixture life and invites leaks. Aim for steady, moderate pressure and generous pipe sizing for flow. “Replacing fixtures will fix low pressure.” If the pipe behind the wall is the choke point, new hardware will not help. It might even reduce flow with tighter internals. “PEX always reduces pressure compared to copper.” Layout and fitting count matter more. A well-designed PEX system can outperform a cramped copper layout with many elbows. “We can just boost pressure with a bigger PRV setting.” A PRV does not boost, it only throttles. If the city supply brings 55 psi, a PRV cannot make 80 out of it. “Tankless water heaters cause low pressure.” The heater adds some resistance, but properly sized units with correct gas or electrical supply maintain excellent flow.
After the repipe: living with your new system
Label shutoffs. Photograph the manifold with valves open and closed, then store those images where family can find them. Keep a simple map of isolation zones. Flush the system after work is finished, starting at the farthest fixture and working back. Clean aerators after a week to catch any residual debris.
If you installed a PRV and expansion tank, note the PRV setting and the pre-charge pressure on the tank. Test once a year. If you added a recirculation pump, tune schedules to match your life, not a 24/7 run. Small habits like these extend the life of a system you just invested in.
Final word from the trenches
Pressure complaints are rarely about a single bad part. They are about a system pushed beyond what its old pipes can deliver. A repipe resets the baseline. It improves dynamic pressure, makes temperature stable, and reduces the invisible stress that high pressures and clogged lines put on valves and appliances. It is not cheap, and it is not a weekend project, but if your home meets the signs, it is often the most honest path to comfort and reliability.
Start with testing. If the numbers say your distribution is the bottleneck, design a layout that favors flow and serviceability. Choose materials for your water chemistry and local code. Replace the PRV if it is long in the tooth, and set it with real fixtures running, not just at a guess. Then live with the house the way you wanted to from the start, two showers at once and no drama when someone flushes. That is the standard a good repipe should meet.
Business Name: Principled Plumbing LLC Address: Oregon City, OR 97045 About Business: Principled Plumbing: Honest Plumbing Done Right, Since 2024 Serving Clackamas, Multnomah, Washington, Marion, and Yamhill counties since 2024, Principled Plumbing installs and repairs water heaters (tank & tankless), fixes pipes/leaks/drains (including trenchless sewer), and installs fixtures/appliances. We support remodels, new construction, sump pumps, and filtration systems. Emergency plumbing available—fast, honest, and code-compliant. Trust us for upfront pricing and expert plumbing service every time! Website: https://principledplumbing.com/ Phone: (503) 919-7243